Weekend Eats
Hey there, I’m Louisa Clements!
I've been creating simple, fresh & flavorful recipes for the modern kitchen for the last 12 years. You've seen my recipes in Chatelaine, Metro News and more.


What I've Been Cooking up Lately
Latest Recipes

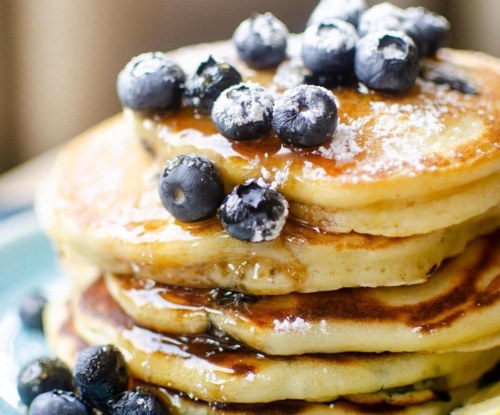
20 minutes
Mini Pancakes
Light and fluffy mini pancakes are a delicious family-friendly (and sure to be kid favorite!) breakfast. Ready in less than 20 minutes and made with basic pantry staples, these adorable bites are fun to make and incredibly delicious.
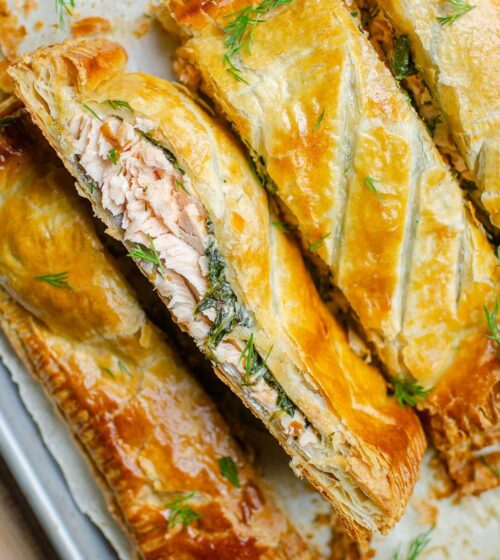
55 minutes
Salmon Wellington with Puff Pastry
This Salmon Wellington, or salmon en croute, is a show-stopping centerpiece! A beautiful piece of salmon wrapped in flaky puff pastry with a savory, creamy spinach filling.
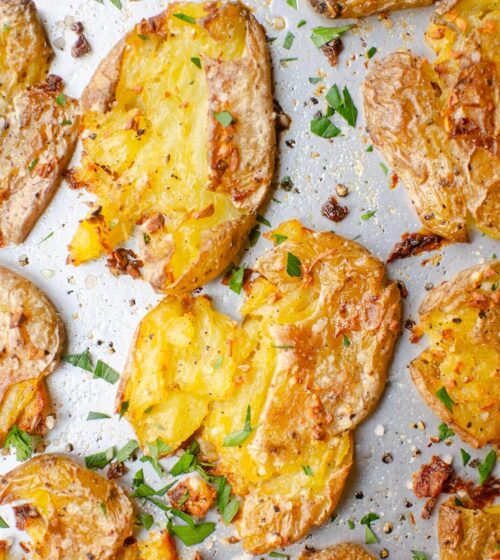
35 minutes
Fingerling Smashed Potatoes
The ultimate crispy side dish–fingerling smashed potatoes! Crispy outside, creamy inside – these adorable spuds are a flavor party with garlic, butter and parsley.
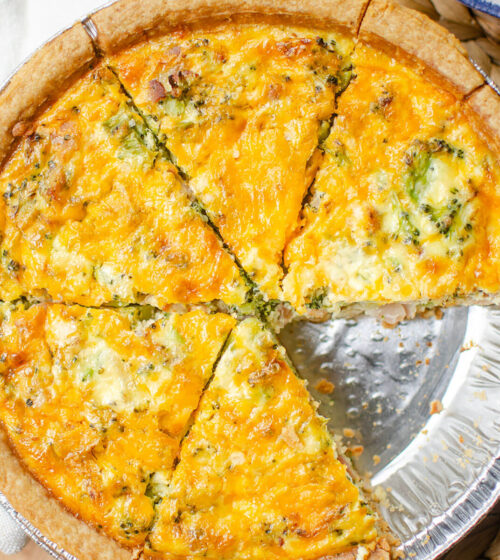
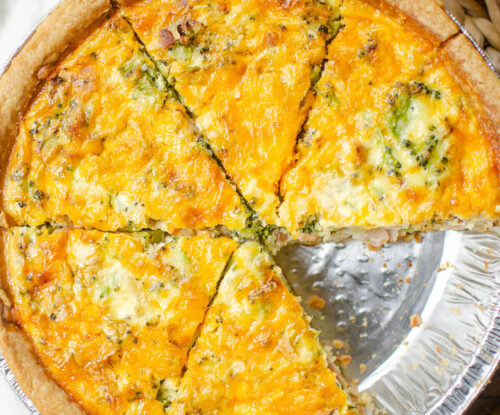
1 hour
Bacon Broccoli Quiche
Bacon Broccoli Quiche is a delicious combination of bacon, tender broccoli, and the savory richness of cheddar cheese encased in a buttery, flaky pie crust. Ready in a mere under an hour, it has become a cherished choice for family brunches or quick weeknight dinners.
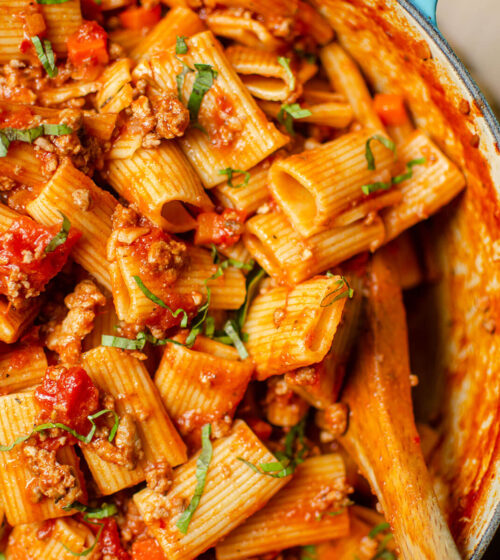
54 minutes
Rigatoni Bolognese
This easy Rigatoni Bolognese is a flavor-packed Italian classic made with ground beef, pork and sausage. A rich meat sauce that is perfect for both weeknight dinners and special occasions. It’s even better served over my favorite pasta–rigatoni!
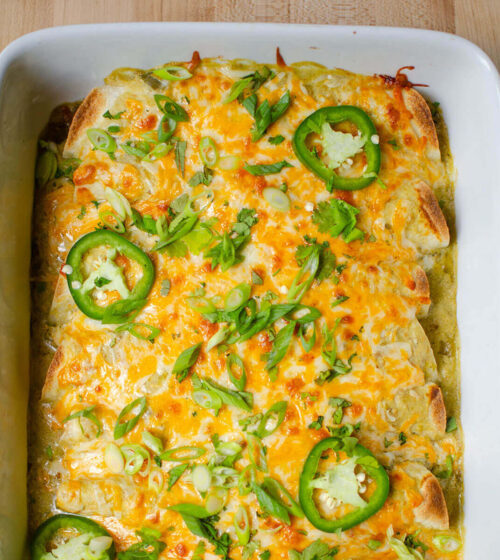
46 minutes
Green Chicken Enchiladas
Your new favorite weeknight dinner! This recipe for green chicken enchiladas is creamy, cheesy and incredibly easy. Blanketed in a zesty green enchilada sauce, this recipe combines salsa verde, shredded chicken, sour cream, melted cheese and a kick from spicy jalapenos.