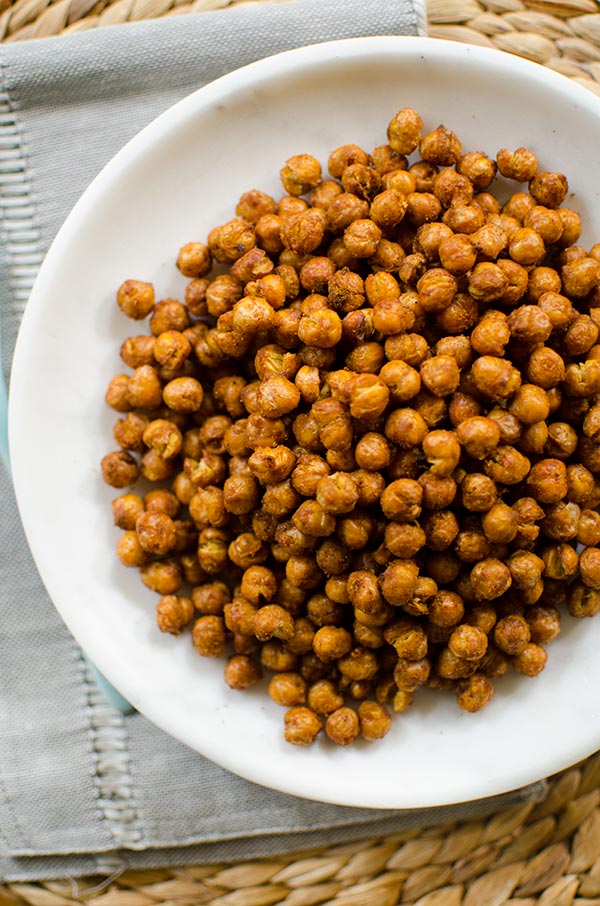
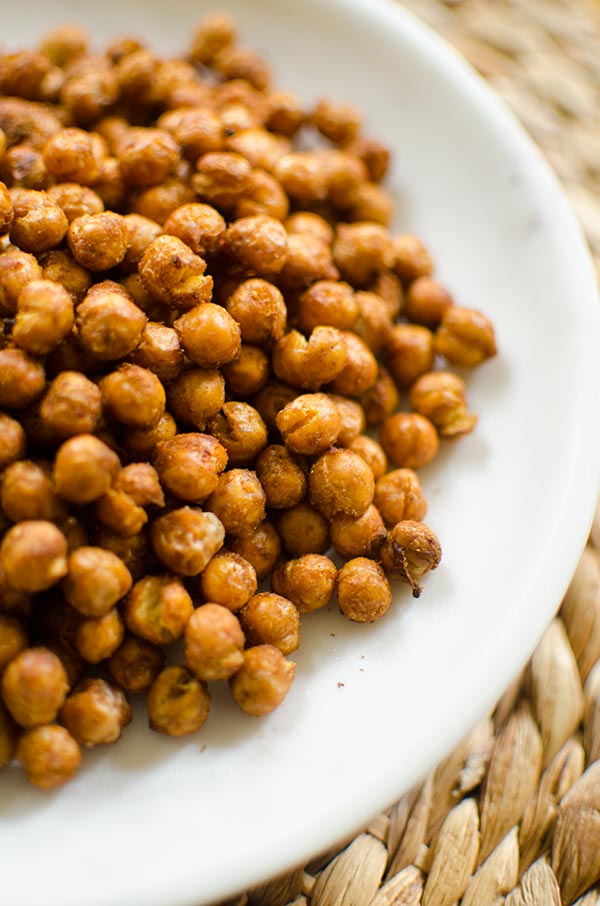
How to make crispy chickpeas in the air fryer, flavoured with tandoori spice for the perfect, crunchy snack. Using the air fryer cuts the cooking time down to only 10 minutes. This post contains affiliate links.
When I’m working on new posts, I always ask myself ‘What solution can I offer you?’. I feel like if I can help you solve one problem, no matter how small it may be, then I’ve done my job. Today I’ve got your solution to crispy roasted chickpeas.
I have always loved the concept of crispy roasted chickpeas, in the oven, but I never had any success with the recipes. Some end up burnt while others are still chewy. Plus it takes a long time.
Well, enter the air fryer.
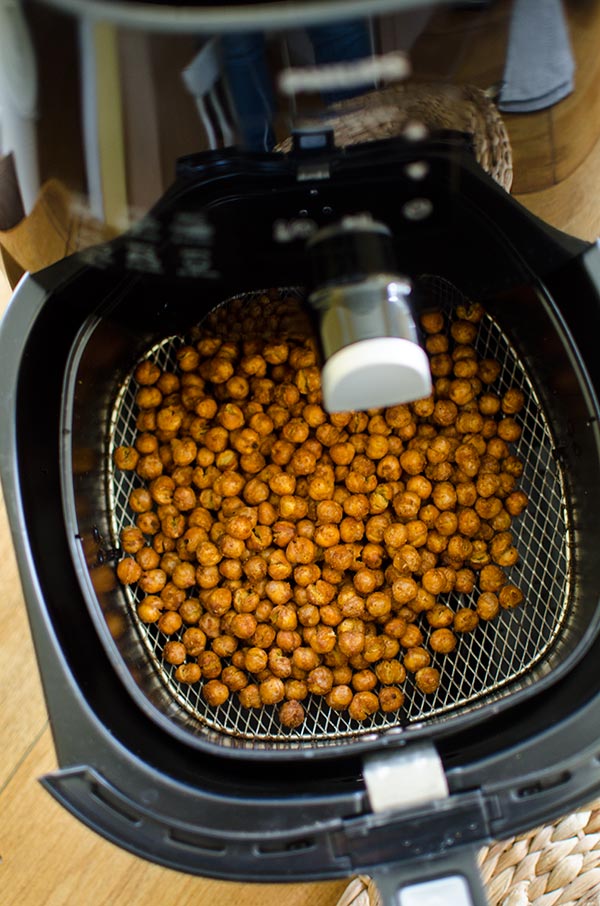
I don’t know why I never thought to make air-fried chickpeas. It’s like a light bulb went off in my head a couple of weeks ago when I decided to toss them in one tablespoon of olive oil, and cook them in my Philips Airfryer (this is air fryer I use for everything). In just 10 minutes (as opposed to the 30-40 it can take to roast chickpeas in the oven), I had perfectly crispy chickpeas. There were no burnt chickpeas because the Airfryer’s technology cooks everything so evenly.
Since I’ve been working pretty crazy hours for the past couple of months, I’ve really started to rely on my air fryer to help me cook quick meals. Whether it’s air fryer cauliflower or beets to add to a salad, or a couple of chicken thighs or breasts, I feel like it’s helping me keep to my healthy lifestyle and avoid spending tons of money on takeout!
A win-win situation for sure. I tend to walk in the door with some sort of dinner plan already in mind and then start cooking, it heats up really quickly so I opt for dishes that require minimal prep.
Why buy an air fryer?
- It uses minimal oil for crispy “fried” food
- It pre-heats much faster than an oven
- It cooks food faster
What are the downsides to the air fryer?
If you’re cooking for a family, you will want to make sure you purchase the extra large, 4qt air fryer. The air fryer itself is not small, but the basket inside is small. Most food you need to cook in batches, so if you do cook for more people, definitely opt for the larger size.
I love Indian flavours and I knew I wanted to go for something Indian-style for this recipe. I have a favourite Tandoori spice blend that I use all the time (my Tandoori chicken wings, for example) so I went with that for these crunchy chickpeas, but you can use one of your favourite spice blend that you have on hand, just make sure to keep the quantities for these air-fried chickpeas the same.
Louisa Clements
Yields 4 servings
How to make crispy chickpeas in the air fryer, flavoured with tandoori spice for the perfect, crunchy snack. Using the air fryer cuts the cooking time down to only 10 minutes.
5 minPrep Time
10 minCook Time
15 minTotal Time
3 based on 2 review(s)
Ingredients
- 1 19oz can chickpeas, drained and rinsed
- 1 tablespoon olive oil
- 2 teaspoon tandoori masala (or your favourite spice blend)
- ¾ teaspoon salt
Instructions
- Preheat Airfryer to 200C.
- In a large bowl, toss chickpeas with olive oil, spices and salt.
- Arrange the chickpeas in a single layer in the fry basket and insert into the Airfryer. Cook for 8-10 minutes, shaking the chickpeas halfway through the cooking process. Remove and allow to cool on a baking sheet. Repeat with remaining chickpeas (one can of chickpeas takes two batches).
Notes
Disclosure: This post was sponsored by Philips – as always, all opinions are my own. Thank you for supporting my sponsors and allowing me to continue creating recipes like these air-fried tandoori chickpeas.


August
Louisa Clements
Jo
Louisa Clements
Sheila
Louisa Clements
Bynemara
Isabelle @ Crumb
Lou